1
Start with the image and the goal
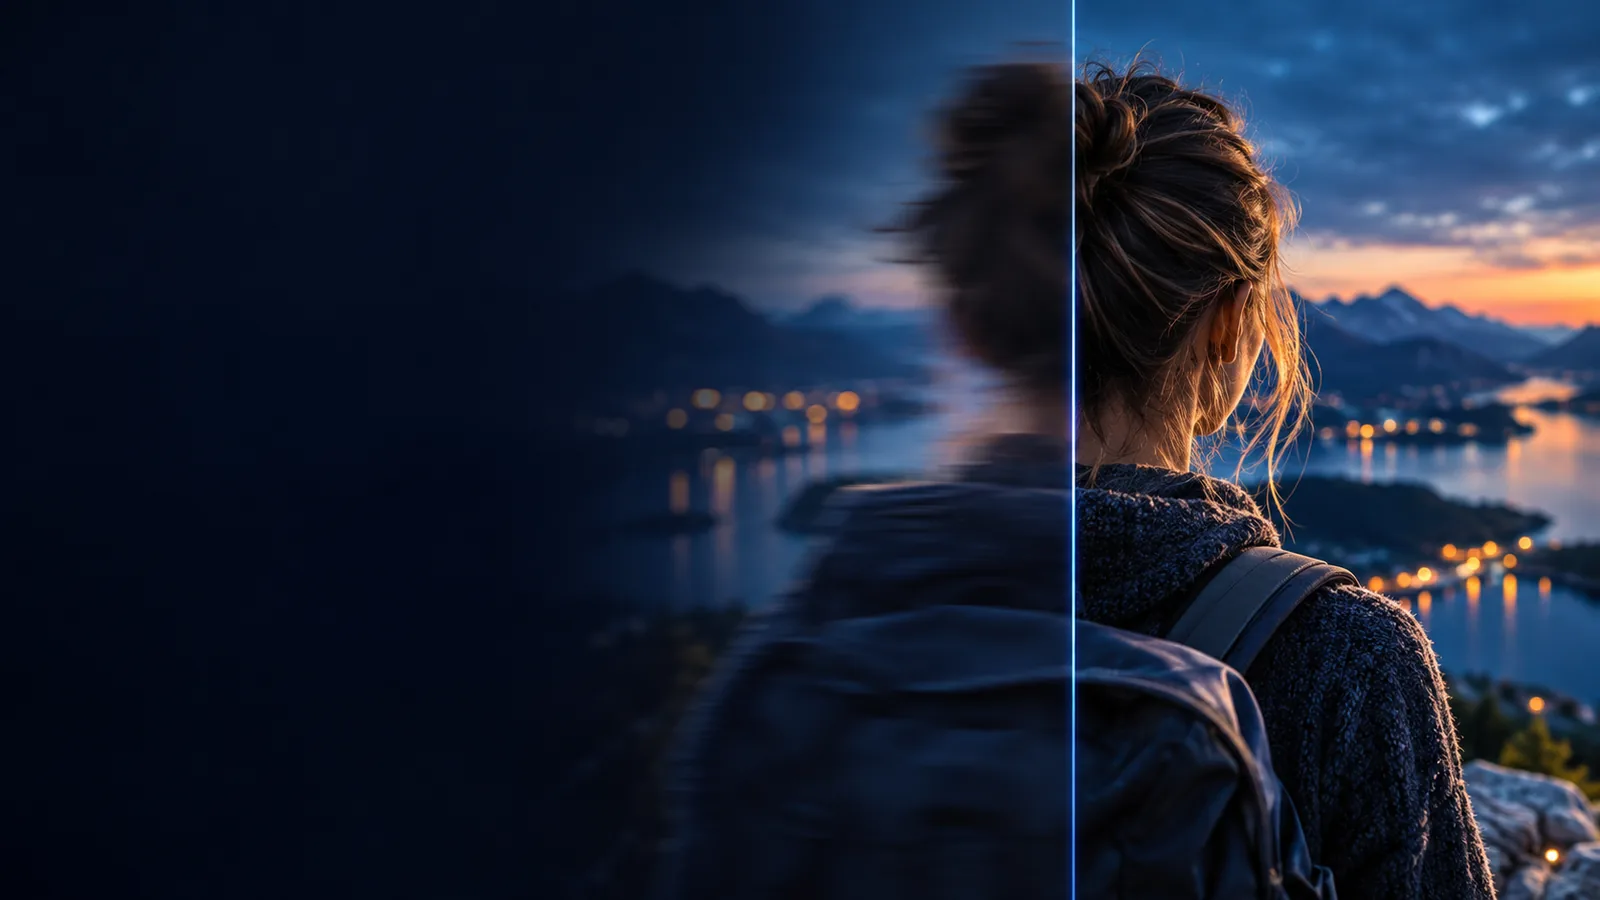
A focused unblur workflow is suited to a clear objective: make one soft or blurred image easier to inspect. Photoshop starts with a broader canvas, where you can import the image and decide whether sharpening, noise reduction, masking, retouching, or another adjustment is appropriate.
2
Choose speed or adjustment depth
A dedicated workflow keeps the decision surface narrow, which can make an initial test easier. Photoshop exposes more controls, but that flexibility requires more choices about layers, blend modes, filters, selections, and adjustment strength.
3
Inspect edges, texture, and artifacts
Neither route can reliably recover detail that was never captured. Check faces, small text, hair, repeated patterns, and high-contrast edges for invented texture, halos, ringing, or amplified noise before accepting the result.
4
Export the version that fits the job
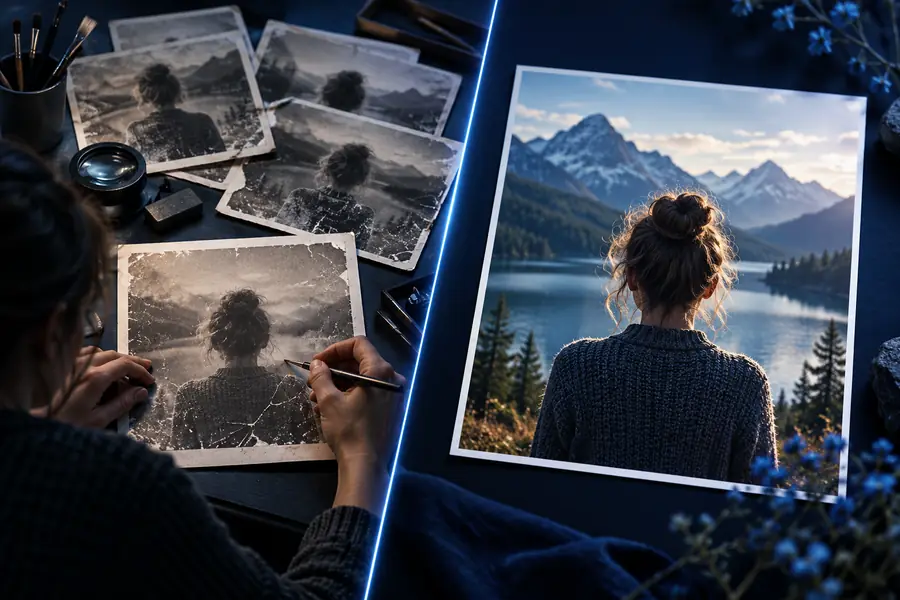
Use the focused result when the image only needs a practical clarity improvement. Keep working in Photoshop when the image must join a larger composition, receive local corrections, or remain editable through a layered project.