Choose the best source
Use the original file rather than a screenshot, messaging-app copy, or repeatedly compressed export. A larger, cleaner source gives every manual adjustment more useful pixels to work with.
Manual image repair
Unblur image without AI by improving focus, contrast, and edge definition with ordinary editing tools. The goal is to recover useful detail without inventing information that was never captured.
Supavisual has 2×/4× upscale and background removal, but no dedicated unblur, deblur, or sharpen tool. Upscaling cannot reliably recover lost text or detail. This link opens its home page; sign-in and a paid AI plan are required. Any paired images here are illustrations of concepts, not verified processing results from this site or Supavisual.
Explore Supavisual upscale
A careful manual workflow starts with the best available source and modest expectations. These three steps help you avoid mistaking added contrast for genuinely recovered detail.
Use the original file rather than a screenshot, messaging-app copy, or repeatedly compressed export. A larger, cleaner source gives every manual adjustment more useful pixels to work with.
Check whether the softness comes from missed focus, camera movement, subject movement, low resolution, or compression. Different causes respond differently, and some cannot be reversed with editing alone.
Work from mild sharpening and noise reduction toward stronger settings. Zoom out regularly so halos, crunchy texture, and exaggerated grain do not become the new problem.
This is a repeatable manual pass for a mildly soft photograph. It works best when the subject is already visible and you need cleaner edges rather than a complete reconstruction.
Compare a browser-based route when you want a simpler way to process a blurred image.
Understand what image deblurring can realistically change before you begin editing.
Use a text-focused guide when the main goal is making words easier to inspect.
The right method depends on the source problem, the amount of control you need, and whether preserving the original appearance matters more than adding visible crispness.
Manual editing
You choose sharpening, clarity, contrast, and noise settings.
AI-assisted enhancement
The tool proposes or applies a broader enhancement automatically.
Manual editing
A mildly soft image with visible edges and moderate resolution.
AI-assisted enhancement
A source where detail is weak and a guessed reconstruction may be acceptable.
Manual editing
High control over radius, strength, masking, and local corrections.
AI-assisted enhancement
Usually fewer direct controls over the exact pixels being changed.
Manual editing
Lower when settings stay restrained, though halos and noise are still possible.
AI-assisted enhancement
Higher when the source lacks enough information for a confident recovery.
Manual editing
Requires inspection and several small adjustment passes.
AI-assisted enhancement
Often produces a visible result with less manual tuning.
Manual editing
Consistent when you record settings and apply the same process.
AI-assisted enhancement
Depends on the tool, its settings, and how it interprets each image.
Manual editing
Restoring a natural look or preparing a mildly blurred image for review.
AI-assisted enhancement
Testing a stronger enhancement when ordinary sharpening is not enough.
A manual pass can make edges appear clearer, but it does not recreate every lost pixel. Compare the transition carefully and judge whether the extra crispness still looks natural.
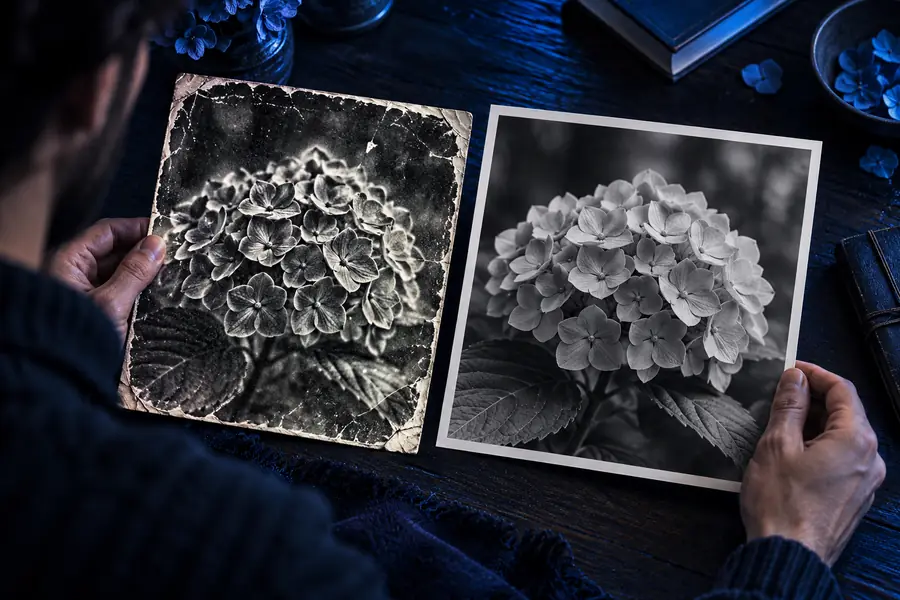
Sharper edges are not the same as recovered detail.
Manual editing is useful because it is transparent, not because it is unlimited. Stop when the adjustment changes the character of the image more than it improves legibility.
When a moving subject has left a long smear, sharpening can emphasize the smear but cannot reliably reconstruct the missing position-by-position detail.
WorkaroundTry the cleanest original frame, a shorter exposure, or another photo from the same sequence.
If the lens focused behind the subject, edges may never have been recorded sharply enough for a natural recovery.
WorkaroundUse modest sharpening for presentation, then choose a different source when accurate detail is essential.
A small image with block artifacts has limited information. Increasing sharpness can make compression patterns and ringing more obvious.
WorkaroundReturn to the original export and avoid enlarging until after the basic correction is complete.
Contrast and edge tools may make letters look stronger without proving what the obscured characters actually are.
WorkaroundTreat the result as visual guidance, not reliable transcription, and look for another photograph or source document.
If a restrained manual pass does not give you enough clarity, send the image through the next workflow and compare the output with your original. Keep the source file so you can judge every change rather than overwriting your reference.
Yes, you can improve mild softness with cropping, contrast, clarity, noise reduction, and sharpening controls. These tools can make existing edges easier to see, but they cannot reliably restore detail that the camera never captured.
Begin with the original, highest-resolution file and identify the blur type before adjusting anything. Apply small sharpening and contrast changes, inspect at full size, and reduce the effect if halos or grain become distracting.
Usually not. Sharpening increases edge contrast, so it may create the impression of clarity without recovering the correct fine detail. A different original photo is often more reliable than a stronger adjustment.
Increase local contrast carefully, reduce distracting noise, and sharpen after confirming that the letters are large enough to inspect. If characters are missing or merged together, the edited image should not be treated as a dependable transcription.
It can, especially when sharpening, clarity, or contrast is applied aggressively. Work on a duplicate or export a new version, and keep the untouched original for comparison.